How To Vacuum a Car Like a Professional
Get the best out of your car vacuuming process! Learn how to vacuum a car like a professional detailer and make every corner shine with expert tricks.

Written by:
Parham Koukia
Reviewed By:
Editorial Team
Published: December 27, 2024
Updated: October 09, 2025
Use AI to summarize this article:
Have you ever looked at the crumbs, dust, or pet hair piling up in your car and thought, I’ll get to it later or may be in the weekend? Those small messes seem harmless but don't forget that it quickly turns your car into a less-than pleasant space!
A detailed vacuuming session can transform your car’s interior, leaving it fresh, clean, and ready for the next drive. But, the main concern here is not about how often you vacuum your car, but whether you’re doing it the right way.
When we ask our clients about vacuuming their cars, surprisingly most of them admit they are unsure how to use a vacuum properly. From using the right attachments for those tricky corners to working in a specific order, proper techniques make all the difference.
Here’s a step-by-step guide on how to vacuum a car like a professional.
1. Gather Your Tools and Prepare the Area
Choose the Right Vacuum
Opt for a portable, high-powered wet/dry vacuum with attachments for crevices and upholstery. If possible use a car interior dedicated vacuum with strong suction and better flexibility.
Must-Have Attachments for Effective Car Detailing
If you want to clean every corner of your car, make sure you have the essential attachments:
- Crevice Tools: For tight spaces like seat tracks.
- Brush Attachments: For loosening dirt on upholstery and carpets
- Small Nozzles: For precise cleaning in corners and narrow gaps.
Open All Doors
Keep all doors open for better access and ventilation. Opening the door also helps to air out odors while you clean.
Clear Out Trash and Personal Belongings
We recently conducted research on car hygiene and cleanliness in Texas and nearly half (45.5%) of Texan Car owners admit to eating in their cars regularly, which leads to food crumbs and spills that attract bacteria. While clearing out the trash, pay special attention to areas like cup holders, seat cracks and crevices, as well as under the seats, as these are common areas for bacteria to grow.
Use a garbage bag to dispose of wrappers, bottles, and other waste, and store your personal belongings in a box.
Take Out Floor Mats and Empty the Trunk
Remove the floor mats from your car and shake them out to loosen dirt. Set the mats aside for separate cleaning later.
2. Vacuum Methodically: From Top to Bottom
Start with Headliner and Dashboard
While dashboards may not seem like a major concern, research revealed an average of 317 bacteria present in this area. Dusting and vacuuming your dashboard reduces bacterial growth.
Begin car interior vacuuming process at the top by vacuuming the car’s headliner to remove dust.
Move to the dashboard and vents while using a soft brush attachment to avoid scratching delicate surfaces.
Clean Upholstery and Seats
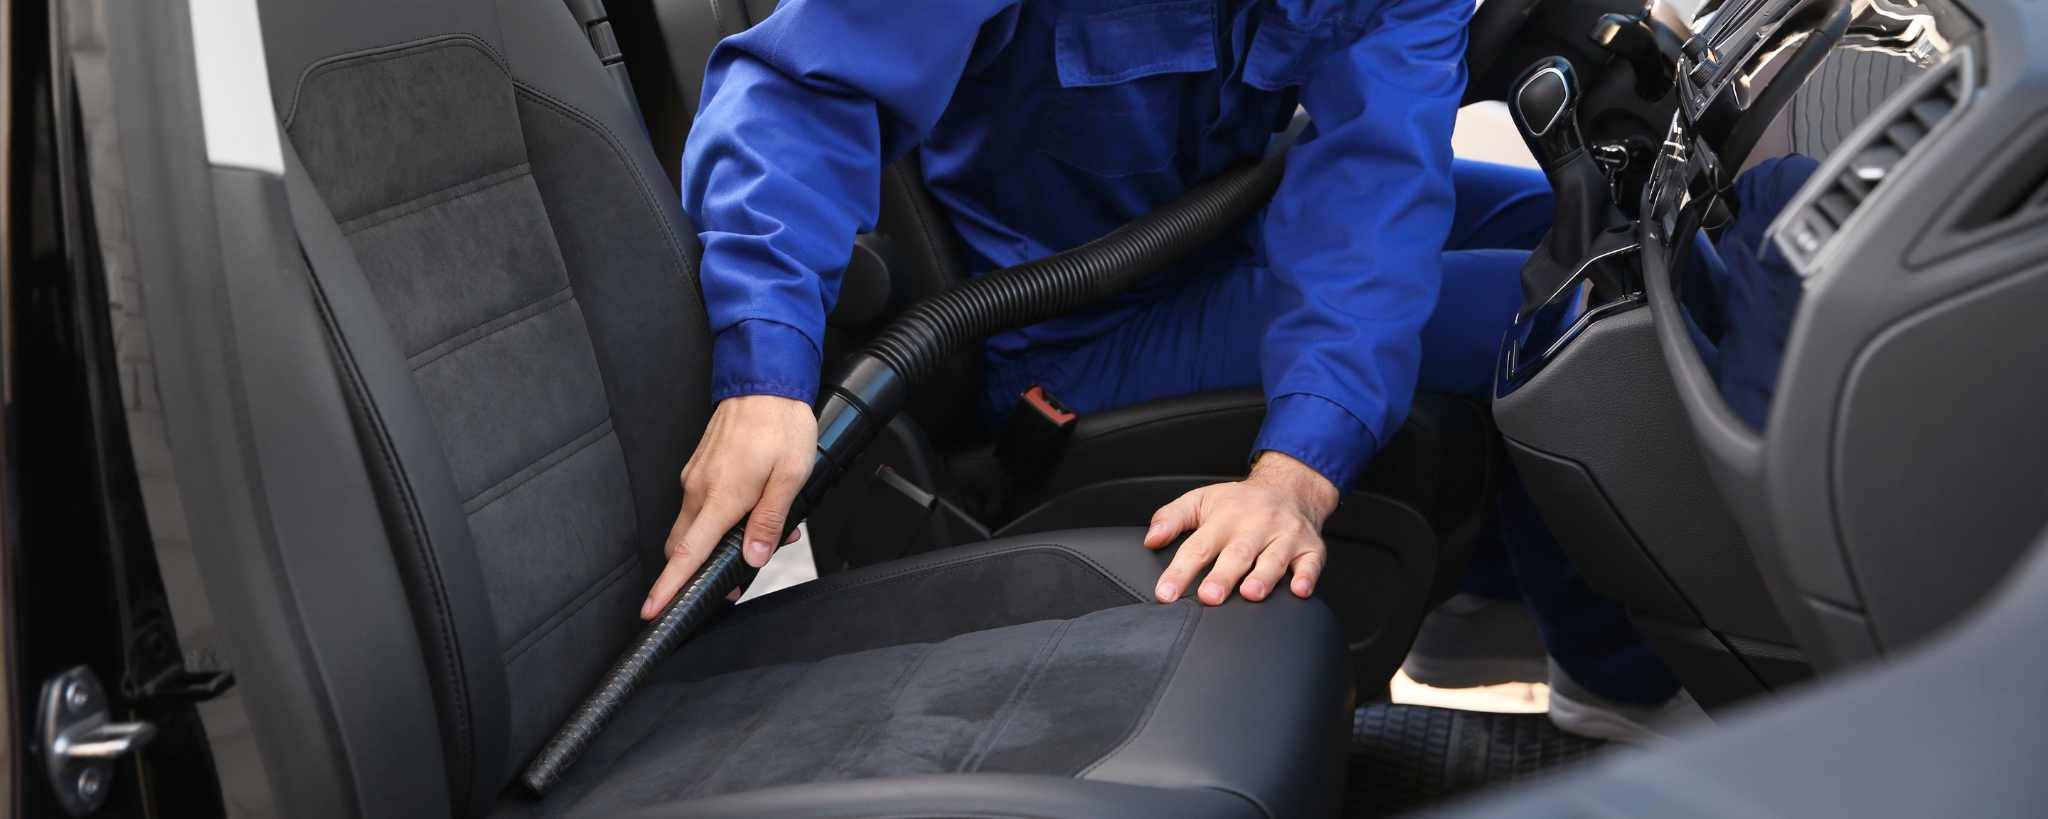
Use a narrow nozzle to vacuum the seats thoroughly. Focus on seams and crevices where dirt tends to collect.
Recline the seats to reach the spaces between the cushions and seat backs.
Focus on Floorboards
Vacuum the carpeted floorboards in multiple directions for a deep clean.
Slide the front seats forward and backward to access hard-to-reach areas under the seats and pedals.
3. Tackle Hard-to-Reach Areas and Floor Mats
It’s surprising how many people focus only on visible surfaces while cleaning their cars. From my experience, hard-to-reach areas like seat tracks and gear sticks often accumulate the most dirt and grime.
With nearly 3.4 million car owners admitting to letting their cars become disgusting, it’s clear that most people do not clean their cars thoroughly or regularly enough.
Using the right tools and techniques of vacuuming for those tight spot areas in car can make a significant difference in the overall changing process.
Use Specialized Attachments
Employ crevice tools and narrow nozzles to clean tight spaces, such as seat tracks and along edges. If you want to remove pet hair from car seats, use a motorized brush attachment for efficient removal.
Vacuum Floor Mats Separately
Shake out the floor mats to remove loose dirt before vacuuming them.
For best results, vacuum both sides thoroughly and use a mild cleaner if necessary to tackle stains or odors.
4. Reassemble the Interior and Inspect Missed Areas
Once vacuuming is complete, replace the floor mats and ensure everything is back in place. Take a moment to inspect the interior for any missed spots or areas that need touch-ups.
Professional Detailing Vacuum Recommendations
- Black+Decker Dustbuster QuickClean Cordless Handheld Vacuum
- MK.Dull Handheld Vacuum Cleaner
- METROVAC VAC N BLO
With over a decade of experience in car detailing, I can tell you that vacuuming is not just about running the vacuum over the obvious spots in the car interior. It's the seat tracks where crumbs hide, the floor mats that catch everything and the tight spaces that often surprise the car owners with how much dirt they hold.

Parham Koukia
Lead Car Detailer / Operations Manager
With nearly 15 years of hands-on detailing experience, Parham has become a trusted authority in the auto care world. His work is regularly spotlighted in leading outlets like CNN, GoBankingRates, and Family Handyman. Parham likes to share his knowledge to offer in-depth tips on equipment selections, seasonal car care, and some secret car cleaning tips used by detailers in the real world!
Read more
