How to Apply Touch-Up Paint on a Car
Here's a detailed guide on how to apply touch-up paint correctly to restore your car's original look. Fix scratches, prevent rust, and keep your car looking its best with ease!
Use AI to summarize this article:
Touch-up paints are one of the most practical ways to repair chips and light scratches on the car without repainting an entire panel. Scratches that might seem a minor defect can increase the chances of rust if not treated on time.
This guide breaks down the steps for applying touch-up car paint correctly to help you protect your car from future wear and tear!
Step-by-Step Guide to Applying Touch-Up Paint on a Car
1. Clean the area thoroughly
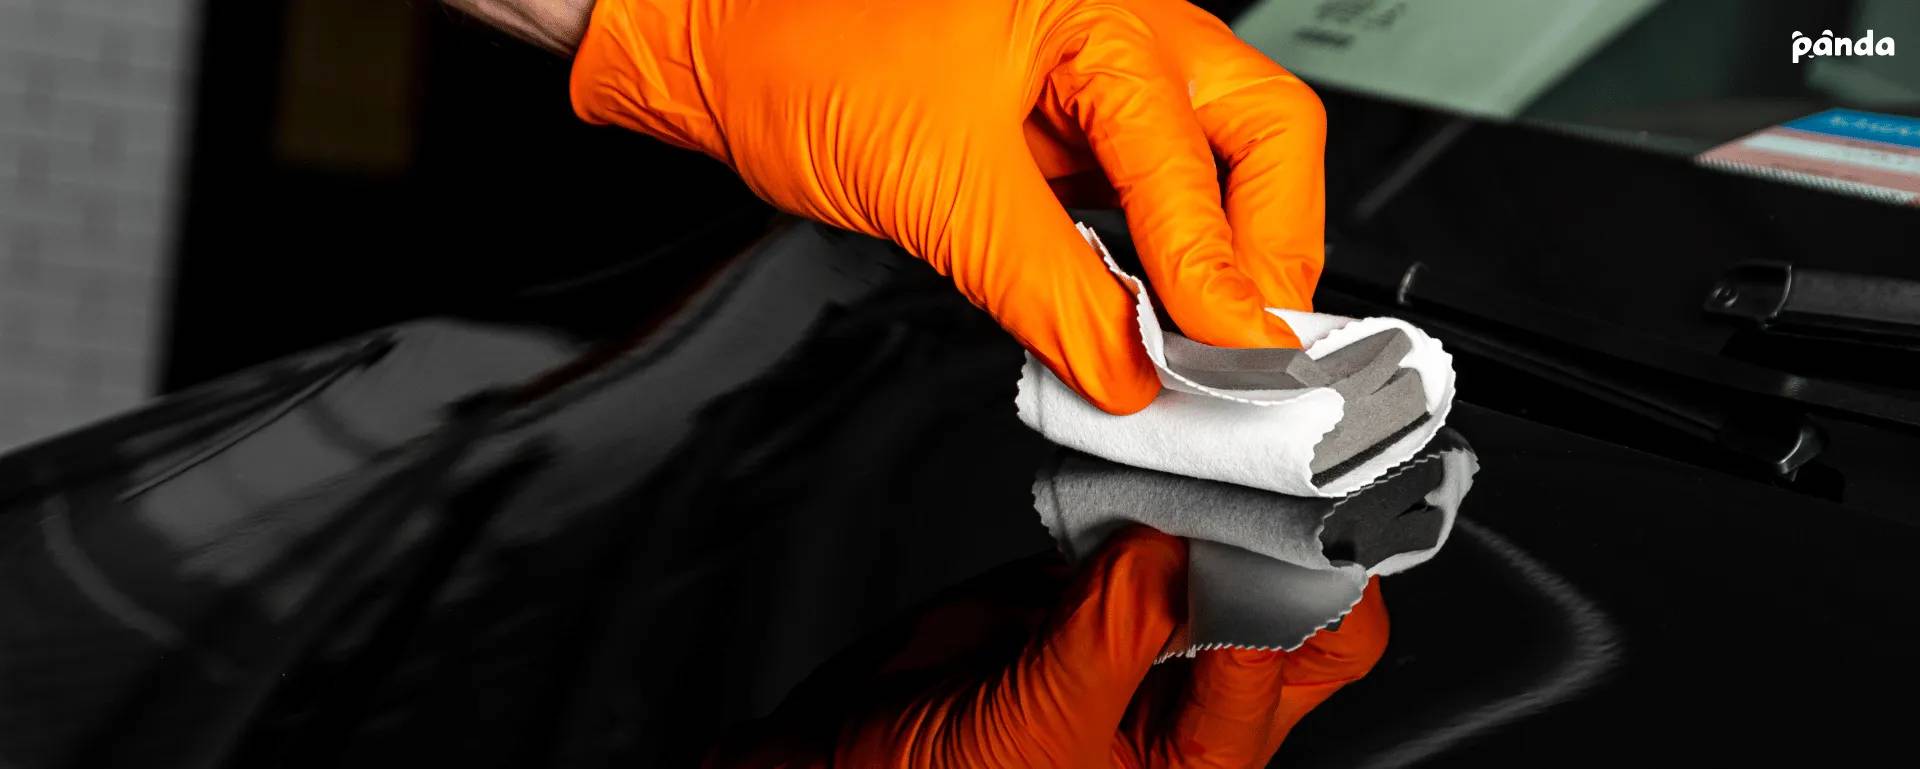
Start by washing the damaged panel with car-safe soap and water. Rinse it, then dry it with a clean microfiber towel. Once the surface is clean, use rubbing alcohol on a clean cloth to remove grease or wax. Properly cleaning the area helps the paint to stick instead of sliding off or bubbling later.
2. Inspect the chip
If the spot has rust or raised edges, you’ll need to smooth it out before applying anything.
Gently use a small piece of 1500 or 3000 grit sandpaper to remove oxidation or loose flakes. Avoid scratching the paint beyond the damaged area.
Some touch-up paint pens also come with an abrasive tip that can handle light cleaning for shallow paint chips.
Pro Tip: Use a painter’s tape to mask off the surrounding paint and outline the damaged zone. This is extremely helpful to prevent accidental overspray or brush strokes onto undamaged paint.
3. Shake the paint well and test it
Paint can separate in storage, so before applying the touchup paint, shake the pen or bottle thoroughly. Before you touch the car, test the paint on a scrap surface or inconspicuous spot to check the color match and flow.
Note: It’s normal for silver, pearl, or light grey paints to look off until a clear coat goes on.
4. Apply paint in thin layers
Touch-up paint should fill the chip, not overflow it!
Use the fine-tip brush or pen applicator to apply a small amount, starting from the center and letting it settle outward. Don’t try to cover the chip in one go. Let the first layer of paint dry for 30 minutes to a few hours (depending on the temperature) before adding the next.
Most small chips need multiple coats to level out.
5. Let it cure fully
Give the final layer time to harden.
A full 24 to 48 hours is recommended before touching or sealing the area.
Not allowing the paint to cure fully can cause peeling or an uneven texture later.
6. Apply the clear coat
Once the color is dry, apply a layer of clear coat over the painted area. Some touch up pens have this built-in on the opposite end. If not, use a separate clear coat applicator.
Keep the pressure light, as too much force can reactivate the paint underneath or leave streaks.
The coat helps protect the color from UV damage and blends the repair with the original finish.
Also Read: How to Clean and Protect Matte Car Paint
Blending Touch-Up Paint on a Car
Blending the paint is where most DIY jobs fall short. Even when the color match is perfect, poor blending can make the paint look odd. The uneven border or slightly raised paint bump becomes noticeable under sunlight or after a wash.
To improve your blend:
- Use a light touch when applying both color and clear coat
- Feather the edges by pulling the brush slightly beyond the chip’s outline
- Don’t try to fill the chip too high; you want it level, not raised
Let the area cure fully before any finishing work
Once cured, gently rub the area with a microfiber cloth and polishing compound. This removes slight ridges and creates a more uniform shine.
How to Smooth Out Touch-Up Paint on a Car (After It’s Dried)
Once your paint has dried and cured, the surface might still feel slightly raised or textured. That’s normal. The goal after the paint has dried completely is to refine the finish without stripping the paint.
- Make sure the paint has cured for at least 48 hours
- Use a clean microfiber towel and a low-abrasion rubbing compound
- Work slowly in circular motions, focusing only on the repaired area
- Don’t overdo it, as too much pressure can take off more than intended
- Once smooth, apply the best paint protection option for your needs to keep the repaired area shielded long-term
If the touch-up was too thick, sanding lightly with ultra-fine paper (2000 grit or higher) before compounding can help.
Always follow up with polish to restore gloss.
Expert Tips on Washing Microfiber TowelsCommon Mistakes to Avoid When Touching Up Paint
It’s easy to get eager and try to fix everything quickly. But most of the visible flaws in DIY touch-ups come from small mistakes like:
- Applying too much paint at once instead of layering
- Skipping the coating step, which leaves the color looking flat
- Using rough sandpaper and damaging surrounding paint
- Rushing between coats and trapping solvents
- Forgetting to test the paint on a hidden surface
- Working in direct sunlight or on a hot panel, which affects how the paint settles
Tip: Do not apply a touch-up paint if the temperature is below 60ºF.
Avoiding these errors often means the difference between a touch-up that disappears and one that draws attention.
Got Larger Car Scratches? Contact a Professional
If the scratch is longer than a few inches, runs across multiple panels, or involves dented metal, a DIY touch-up might not be the best option for you, as these types of damage require expert paint-blending techniques and spray tools that go beyond most home setups.
You might also consider getting a professional detailing service if:
- The paint keeps flaking or peeling even after application
- You can’t get the touch-up to sit flush with the panel
- The color match is noticeably off, even with the correct code
Professional detailers and auto body shops use tools like heat lamps, paint mixers, and orbital buffers to smooth and blend repairs. They can also color-correct fading paint to reduce contrast between new and old layers.
Frequently Asked Questions
How much would it cost to touch up paint on a car?
DIY automotive touch-up paint kits typically range from $20 to $50, depending on the brand and whether they include both the base coat and the clear coat. If you’re dealing with multiple chips or a larger area, a full kit with sandpaper, primer, and polish might cost closer to $100.
For professional repairs, car paint touch-up prices can range anywhere from $100 to $500, depending on the size of the damage and whether the panel needs to be blended or repainted.
Related: The Cost of Painting a Car
How noticeable is touch-up paint on a car?
That depends on the size of the damage, the quality of the paint match, and how well the application was done. On small chips with a good color match and clear coat, the repair can be barely visible. However, on older paint or light-colored cars like silver or white, even a well-applied touch-up may still stand out slightly under certain lighting. Polishing after the paint has cured helps it blend better with the original finish.
Does touch-up paint come off in car wash?
Once fully cured, touch-up paint should hold up in both hand car washes and automatic washes. However, it’s best to wait at least a week after application before washing the car.
Harsh chemicals or aggressive brushes can wear down poorly bonded paint or clear coat, so using pH-balanced soap and a soft mitt is safer for long-term durability.
How do I get exact touch-up paint for my car?
To get the exact color for the touch-up paint, locate your car’s paint code, which is usually found on the manufacturer’s sticker inside the driver-side door jamb or in the owner’s manual. Once you have the color code, you can order the exact match from your dealership, an auto parts store, or an online retailer that specializes in automotive touch-up paint.
Be sure to double-check your car’s year, make, and model before ordering since similar color names can have different formulas.

Parham Koukia
Lead Car Detailer / Operations Manager
With nearly 15 years of hands-on detailing experience, Parham has become a trusted authority in the auto care world. His work is regularly spotlighted in leading outlets like CNN, GoBankingRates, and Family Handyman. Parham likes to share his knowledge to offer in-depth tips on equipment selections, seasonal car care, and some secret car cleaning tips used by detailers in the real world!
Read more


